
Using a Smartphone for Night Sky Photos
Why a Phone Works Better Than You Might Think
If you have ever pointed your phone at the night sky and ended up with a murky grey rectangle, you are in good company. Yet the camera in your pocket is far more capable than that first attempt suggests. Modern phone sensors are sensitive enough to record the brighter stars, the Moon's craters, the fuzzy glow of the Andromeda Galaxy and the four brightest moons of Jupiter. You are not going to match a dedicated astronomy camera, and nobody expects you to. What you can do is capture a genuine record of the night sky above you, and the difference between a disappointing image and a lovely one comes down to three things: manual focus, long exposure, and keeping the phone perfectly still.
Switch to Manual Focus
Autofocus is the single biggest reason phone night photos fail. In darkness the camera hunts endlessly, never quite locking on, and you end up with soft, blobby stars. The fix is to take control yourself.
- Open your camera's Pro, Manual or equivalent mode. Most phones have one hiding in the settings or a "more" menu.
- Find the focus slider and drag it to the far end, where you will usually see a small mountain or infinity symbol.
- Point at a bright star — Vega, Capella or Sirius are ideal in the UK — and zoom in on the preview. Nudge the slider back a fraction until that star is the smallest, sharpest point you can manage. Many phones overshoot true infinity slightly, so this last adjustment matters.
- Once set, leave it alone. Focus will not drift between frames, so you can shoot all night without touching it.
If your phone has no manual focus, tap on the brightest star in the frame and hold until the AE/AF lock indicator appears. It is a blunt instrument, but it beats letting the camera guess.
Master the Long Exposure
Stars are faint, so you need to gather light for longer than a snapshot allows. In manual mode you will see two controls that matter: shutter speed and ISO.
- Start with a 10-second exposure at ISO 1600. That combination is a reliable baseline for a suburban garden.
- Push the shutter to 15 or 20 seconds at ISO 800 if your skies are reasonably dark. Longer exposures gather more starlight but also more noise and more sky glow.
- Keep ISO as low as you can get away with. ISO 3200 will show stars, but the image will be grainy and colours will wash out.
- Watch for trailing. Beyond roughly 15 to 20 seconds, the Earth's rotation starts to smear stars into short dashes. For constellations, that is a fair trade; for pinpoint stars, it is not.
Some phones handle this automatically through a night mode that stacks several short frames together. It works beautifully when the phone is braced against something solid, so treat it as a fourth setting rather than a rival to manual control.
Keep the Phone Absolutely Still
A long exposure magnifies every tremor. Hand-holding is out of the question, and even a firm press of the shutter button will introduce blur.
- Use a small tripod and a phone clamp. A flexible-legged tripod is cheap, packs flat and grips railings, gates and fence posts.
- No tripod? A beanbag on a dry stone wall, a car roof with the engine off, or a rolled-up scarf on a windowsill all work well.
- Fire the shutter with a 3-second or 10-second timer, or a Bluetooth remote, so your hand is nowhere near the phone when the exposure begins.
- Switch on airplane mode. An incoming call or notification mid-exposure will end your session abruptly.
- Take a spare power bank and keep the phone in an inside pocket between shots. Cold British nights drain batteries alarmingly fast.
Shooting the Moon, Planets and Star Fields
Different targets need different settings, and treating them all the same is a common mistake.
The Moon is dazzlingly bright. Expose for it as you would for a sunlit landscape: around 1/125 to 1/250 second at ISO 100, with manual focus and spot metering. Use your longest optical zoom and avoid digital zoom beyond that. A night or two after new moon gives the finest crater detail along the terminator, the line between light and shadow.
Planets will remain points of light, but that is no reason to ignore them. Saturn's golden hue against the stars of Aquarius, or Mars glowing ruddily in Taurus, makes a fine wide-field photograph. Use the same 10-second settings as for stars and include some landscape for context.
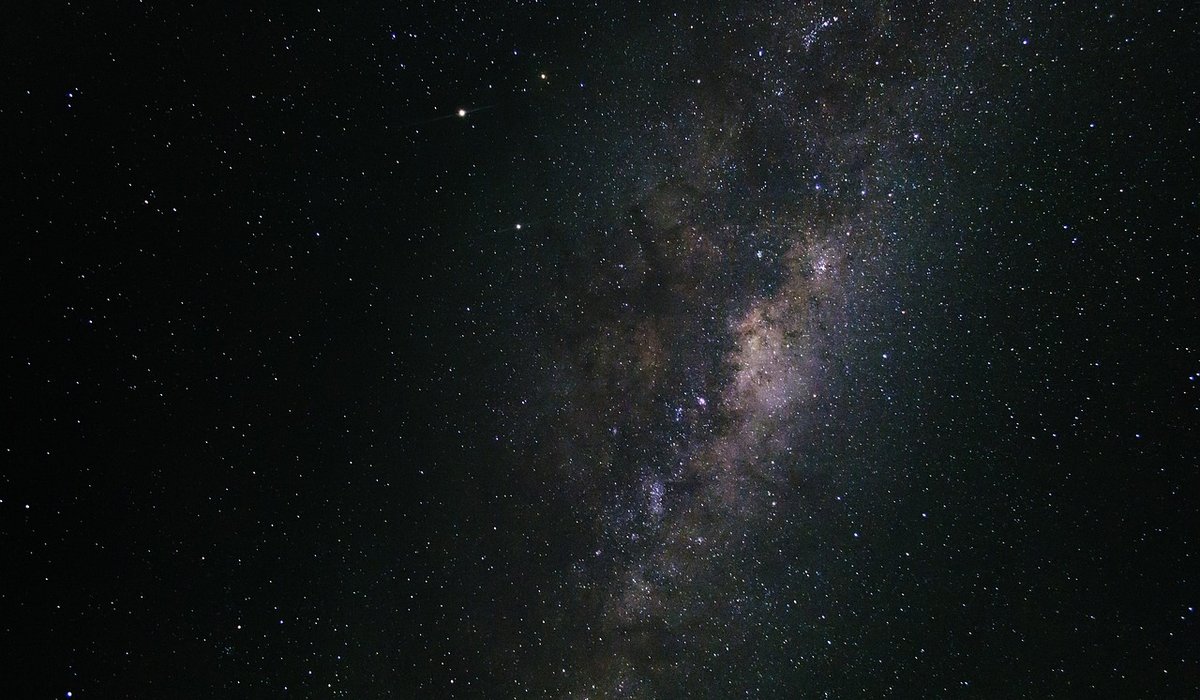
Star fields reward a dark site and a wide view. Frame Orion in winter, the Summer Triangle in August, or the Plough all year round. From a genuinely dark location, a 15-second exposure will pick up the Milky Way as a soft band across the frame.
Getting the Best From British Skies
We are not short of good darkness here, and our official dark sky reserves — Northumberland, Galloway Forest, Exmoor, Snowdonia, the Brecon Beacons and Kielder — are well worth the drive. Wherever you are, a few habits will lift your results.
- Wait for a moonless night in the week around new moon, and check the cloud forecast before you set out.
- Give your eyes 20 minutes to adapt to the dark, and use a red torch rather than a white one.
- Dress for the cold. Standing still in a field at midnight is far chillier than walking through it.
- When editing, lift the shadows gently, cool the white balance slightly, and resist heavy noise reduction — it turns stars into grey mush.
Practise in your own garden first. Once you can reliably capture a sharp handful of stars from a suburban street, you will be ready for somewhere properly dark, and the results will take your breath away.
tag: Astrophotography

Callum Fraser Author
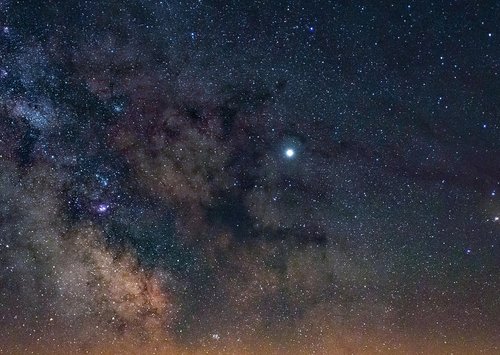
Adjust aperture, shutter speed, and ISO, then test different white balance settings to bring out detail in the galactic core.
YOU MAY ALSO LIKE
Basic Settings for Milky Way Photography
Jul 6
10Capture multiple exposures of the same scene, then combine them with free software to create a cleaner final image.
read more
Stacking Images to Reduce Camera Noise
Jun 30
10Research official dark sky reserves, national parks, and remote coastal spots, then check access, facilities, and local weather forecasts.
read moreStargazing
-

ERRIC CATONA
Shield outdoor lights, use warm bulbs, and direct beams downwards to improve your night vision and views of faint objects.
May 19, 2016 at 5.12 pm
Reply
ERRIC CATONA
Discover how artificial light affects moths, bats, and migrating birds, and how simple changes can support healthier local ecosystems.
May 19, 2016 at 5.12 pm
Reply -
ERRIC CATONA
Learn a simple method for locating Polaris using the Plough, then use it to navigate the night sky throughout the year.
May 19, 2016 at 5.12 pm
Reply
Telescopes
Your email address will not be published.