
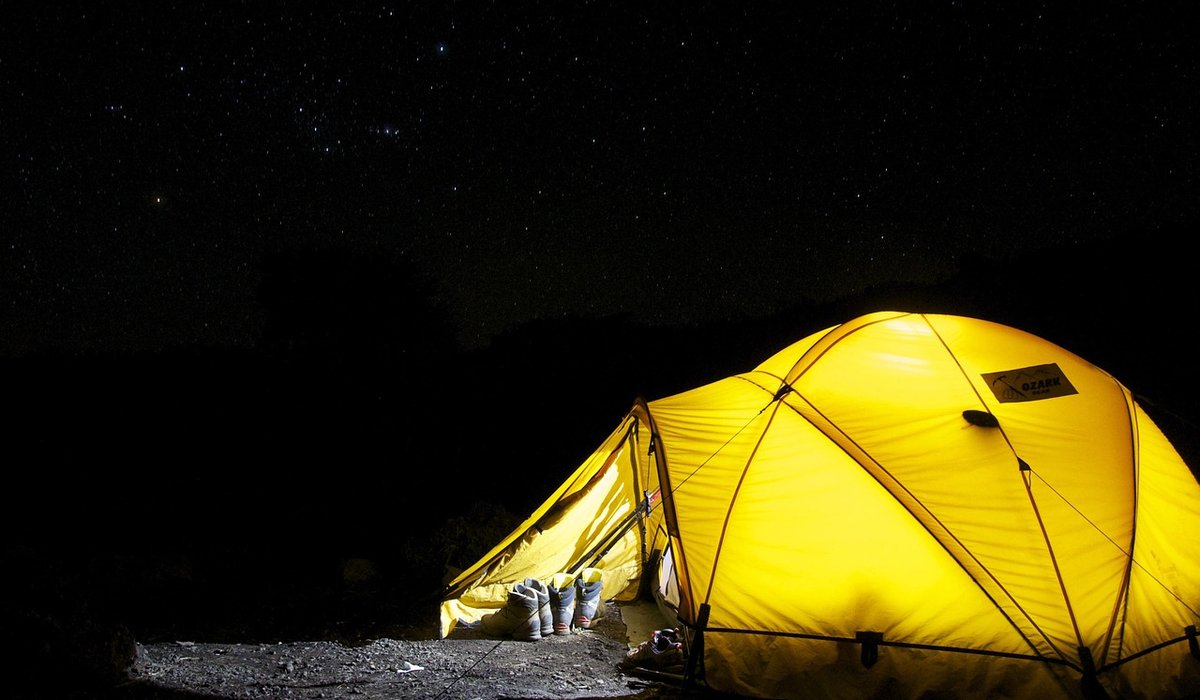
Getting Started with Back Garden Stargazing
Why the back garden is the best place to begin
There is a stubborn myth that proper stargazing requires a dark hillside, a long drive and a telescope the size of a wheelie bin. In reality, the garden you already have is a perfectly good observatory. You can step outside for ten minutes, learn one new constellation, and be back indoors with a cup of tea before your fingers go numb. That ease matters more than any equipment, because astronomy rewards repetition. The more often you look up, the more the sky stops being a random scatter of dots and starts becoming a map you can read.
Your garden also gives you something a remote dark-sky site cannot: a fixed horizon. A particular tree, chimney or fence post becomes your reference point. Once you know that Orion's Belt clears the neighbour's roof in early December, you can find it again in seconds for years to come.
Build a comfortable viewing spot
Cold, cricked necks and wet feet end more stargazing sessions than clouds do. A little preparation turns twenty minutes into an hour without you noticing.
- Sit, don't stand. A reclining garden chair or sun lounger is the single best upgrade you can make. Lying back lets you scan large swathes of sky without craning.
- Dress for a temperature ten degrees lower than the forecast suggests. Thermal leggings, a hat, gloves and thick socks. Clear nights are clear because heat is escaping upwards, which means the ground is chilling fast.
- Use a red torch. Red light preserves your night vision far better than white. A cheap head torch wrapped in a couple of layers of red sweet-wrapper or masking tape does the job.
- Keep a flask and a folding stool for your chart, so you are not juggling paper in the dark.
- Position yourself away from windows and security lights. Even a distant porch lamp will wash out faint objects. Sitting with your back to a bright wall helps block stray light.
Let your eyes adjust properly
Human eyes take roughly twenty to thirty minutes to reach full sensitivity in the dark. Most beginners give up after five and conclude there is nothing to see. Resist the urge to check your phone; even a brief glance at a bright screen resets much of that hard-won adaptation. If you must look, turn the brightness right down and use a red filter or a red-tinted overlay. Once adapted, you will be astonished how many more stars appear in the same patch of sky. Try it deliberately one evening: count the stars in a small triangle of sky, wait twenty minutes, then count again.
What you can see without spending a penny
The naked eye, in a suburban British garden, is genuinely capable. With a little patience you can find:
- The Moon. Best viewed when it is a crescent or half-lit, not full. Along the dividing line between light and shadow, craters and mountain ranges throw long shadows and look almost three-dimensional.
- Jupiter and Saturn. Steady, bright, and not twinkling much compared with stars. Good binoculars will show Jupiter's four brightest moons as tiny points of light either side of it.
- The Pleiades, the little cluster in Taurus that looks like a miniature shopping trolley. Binoculars reveal dozens of stars where your eyes saw six.
- The Orion Nebula, the fuzzy patch hanging below Orion's Belt on winter evenings.
- The Andromeda Galaxy, a faint grey smudge in autumn. It is the most distant thing most people will ever see with their own eyes, and it still thrills me every time.
Timing matters in the UK. Genuine darkness lasts all night from roughly October to March, which is why winter is the stargazer's season. In June, twilight lingers past eleven in the south and never fully leaves the north of Scotland, so save midsummer for the Moon, planets and bright passes of the International Space Station.
How to read a basic star chart
A planisphere, the rotating cardboard disc sold in museum shops and bookshops, is the cheapest and most useful piece of kit you can own. Here is how to use one.
- Set the date against the time on the outer rim, then hold the disc vertically above your head.
- Turn the whole chart so the compass point marked "North" faces north. This is the step everyone skips, and it is the reason charts confuse people.
- Read it like an umbrella. The centre of the disc is the point directly overhead; the outer edge is the horizon.
- Match one constellation first. Find the Plough or Cassiopeia, hold the chart up, and turn your body until the real sky matches the printed one.
Remember that the sky drifts westward by roughly fifteen degrees every hour as the Earth turns. Come back after an hour and your landmarks will have shifted noticeably.
Five easy first targets, and a simple log
Start with the Plough, which points to Polaris and gives you north; Cassiopeia, a bright W that is visible almost all year; Orion in winter; the Pleiades; and the Moon at first quarter. Keep a notebook with the date, time, weather and what you saw. Sketch the Moon's phase, or jot down when a planet moved against the stars. After a season you will have a personal record of the sky, and a habit that costs nothing but a warm coat and a clear evening.
tag: Stargazing

Priya Patel Author
Discover how to plan around radiant points, moonlight, and local weather to improve your chances of spotting shooting stars.
YOU MAY ALSO LIKE
Best Time to See Meteor Showers
Sep 18
10Compare small refractors, reflectors, and spotting scopes, focusing on portability, light gathering, and ease of use in towns.
read more
Choosing Your First Telescope for Urban Skies
Sep 12
10Follow a daytime alignment routine using a distant landmark, then refine it at night with a bright star or planet.
read moreStargazing
-

ERRIC CATONA
Use gentle tools and safe solutions to remove dust and smudges, protecting optical coatings and avoiding scratches on delicate surfaces.
May 19, 2016 at 5.12 pm
Reply
ERRIC CATONA
Understand the lunar cycle, from new moon to full moon, and learn why phases appear differently depending on your viewing time.
May 19, 2016 at 5.12 pm
Reply -
ERRIC CATONA
Focus on the terminator line to reveal dramatic shadows, then identify major craters and maria using a simple lunar map.
May 19, 2016 at 5.12 pm
Reply
Telescopes
Your email address will not be published.